Acrylic/plexiglass You Need To Know
Acrylic plastic is one of the thermoplastic plastics, which is made of polymethyl methacrylate (PMMA). It is developed in 1928 in several different laboratories, then produced by German Röhm & Haas AG in 1933. Acrylic plastic is also well known by the trade name “plexiglass”.
As one of the popular engineering plastic, Acrylic (or plexiglass) offers a variety of high-performance properties, for example, high optical clarity, high impact resistance, lightweight, innate weatherability & UV resistance, and excellent chemical resistance.
Plexiglass sheet is a clear, glass-like plastic sheet, but is much lighter and much more durable than glass. Otherwise, acrylic is easy to thermal form into other shapes. With coatings on the surface, it can enhance its functionality, including scratch-resistance, anti-fog, anti-static and reflective characteristics. Therefore, acrylic is normally used for commercial aquariums, medical devices, lenses of exterior lights of automobiles, machine guards, front panels, indoor & outdoor signs, POP displays, and exhibits.

Acrylic Plastic Product Than UVTECO Supply
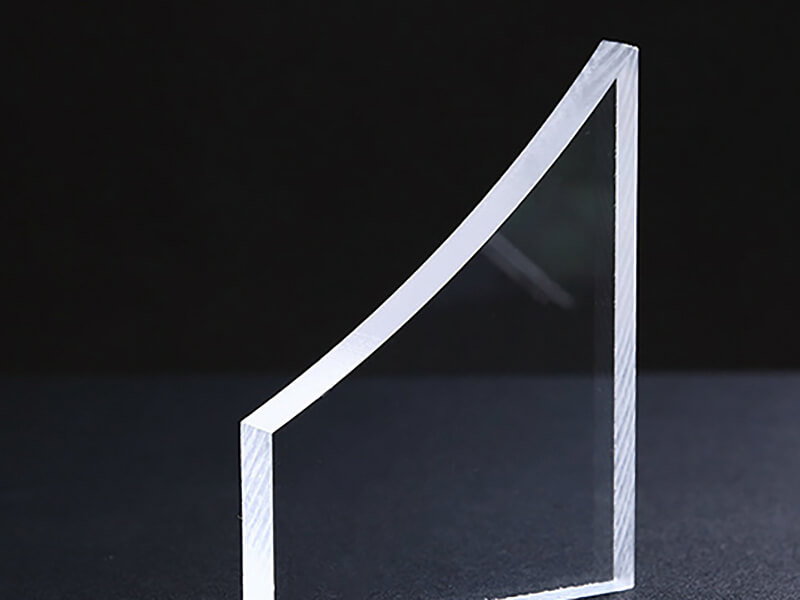
Acrylic Sheet
There are two types of acrylic sheets, including cast acrylic sheets and extruded acrylic sheets, and the thicknesses are from 0.4mm to 50mm. It offers excellent optical properties and better surface hardness than polycarbonate sheets. Now, UVTECO offers custom cut-to-size acrylic plexiglass sheets in a wide range of colors, grades, and sizes.
With coating on the surface, acrylic sheet offer higher surface hardness, better abrasive resistance, mirror surface, anti-static (ESD) function, and non-glare function.
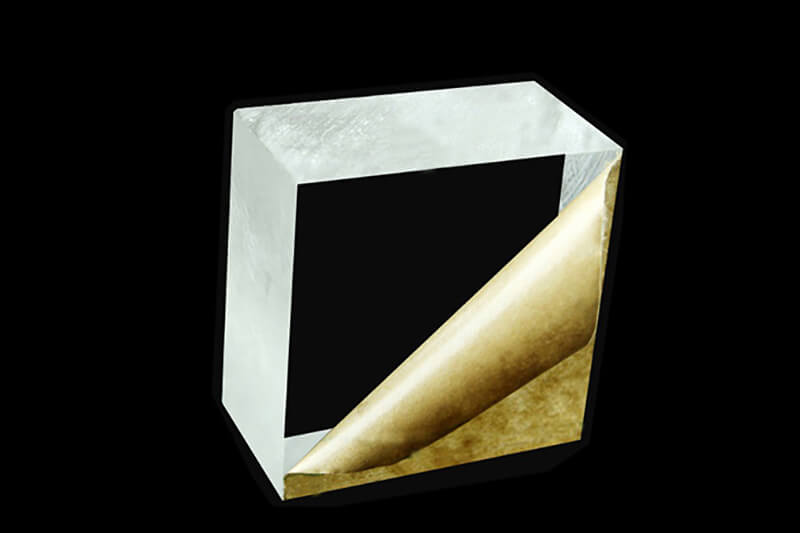
Acrylic Block
Acrylic Block is a thicker cast acrylic sheet, it also can be extruded by acrylic plastic, it offers high optical clarity, innate weatherability & UV resistance. The thickness is from 30mm to 500mm, the size is 1200*2400mm.
Acrylic block is the right material for commercial aquariums, the rapid prototype of headlights for automobiles, and plastic parts by CNC machining.
| Item | Thickness (mm) | Width (mm) | Length (mm) |
|---|---|---|---|
| Polycarbonate Block | 30mm, 35mm, 40mm | 1220mm | 2440mm |
| Polycarbonate Block | 45mm, 50mm, 55mm, 60mm, 80mm, 100mm, 150mm, 200mm, 250mm, 300mm, 400mm, 500mm | 1200mm | 2400mm |
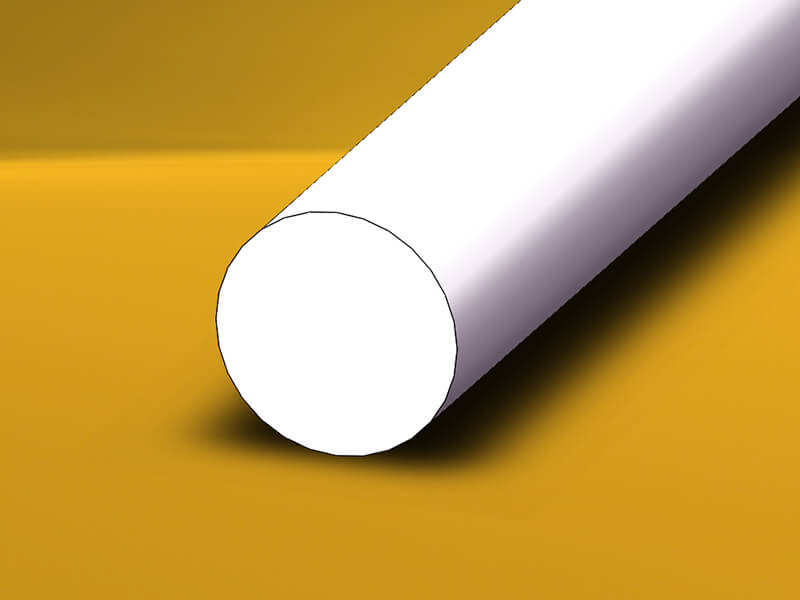
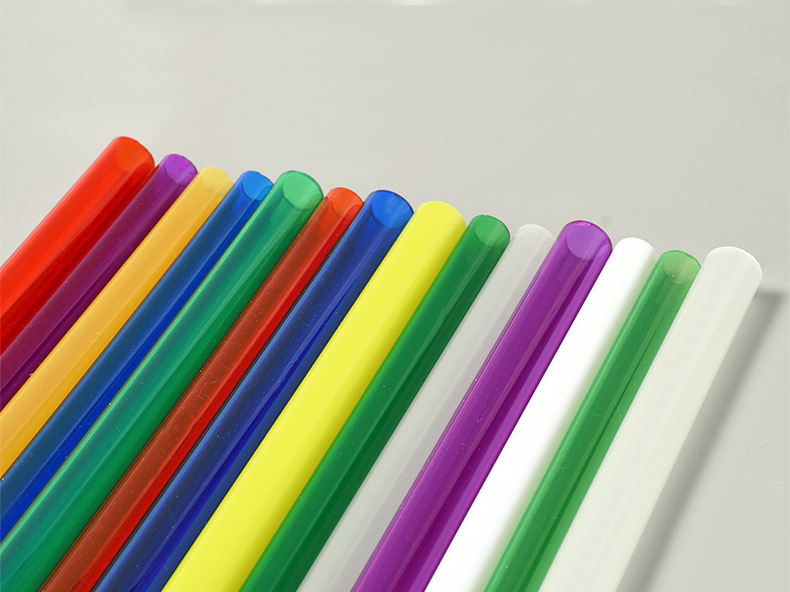
Acrylic Rod
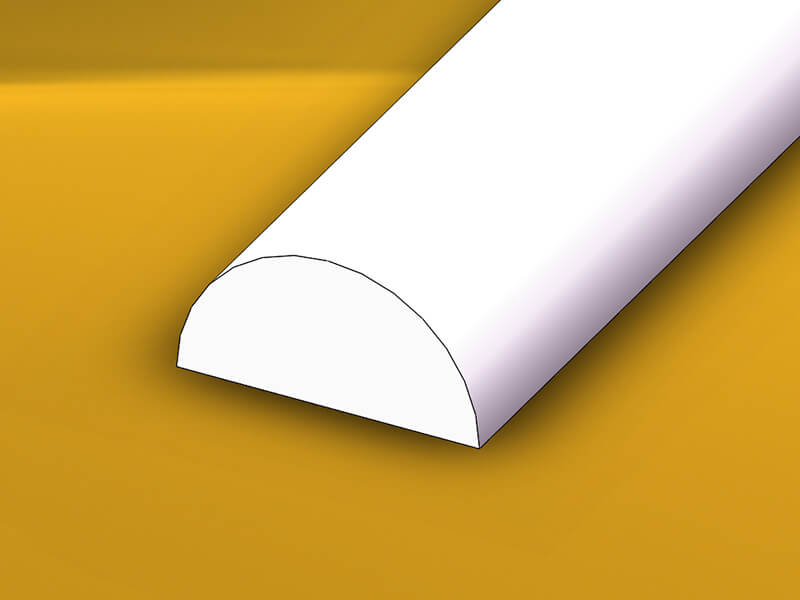
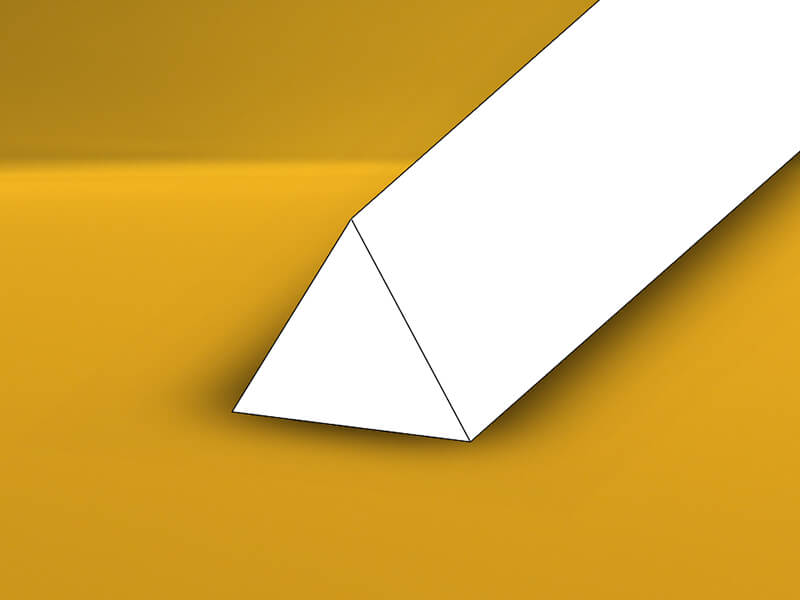
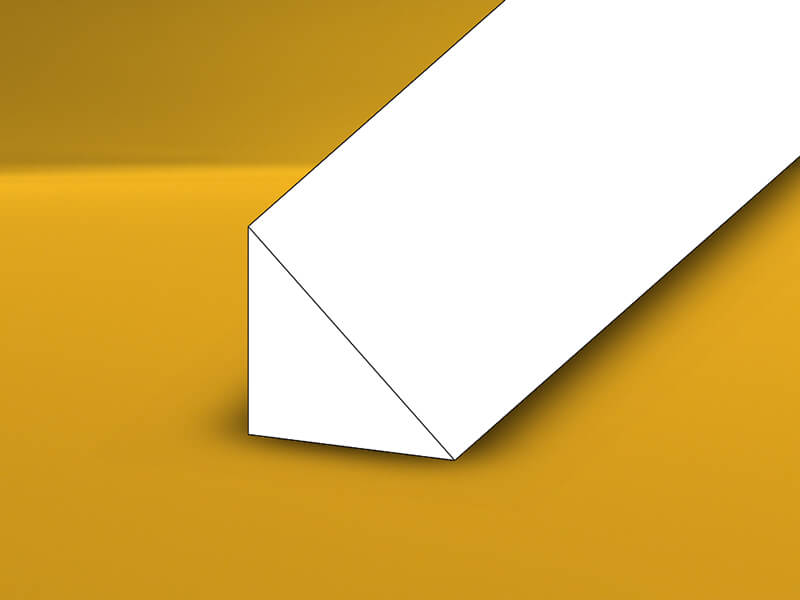
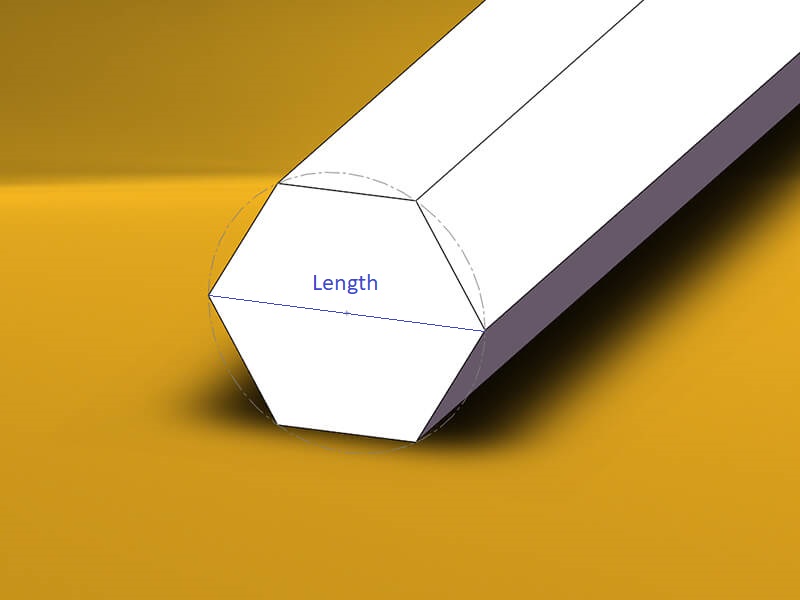
Acrylic Rod is extruded from acrylic plastic, it can be a round rod, triangle rod, square rod, hexagon rod, semicircle rod, and custom shape. The colors can be transparent, red, blue, green, yellow, etc.
Acrylic Rod is used for plastic parts by CNC lathe turning.

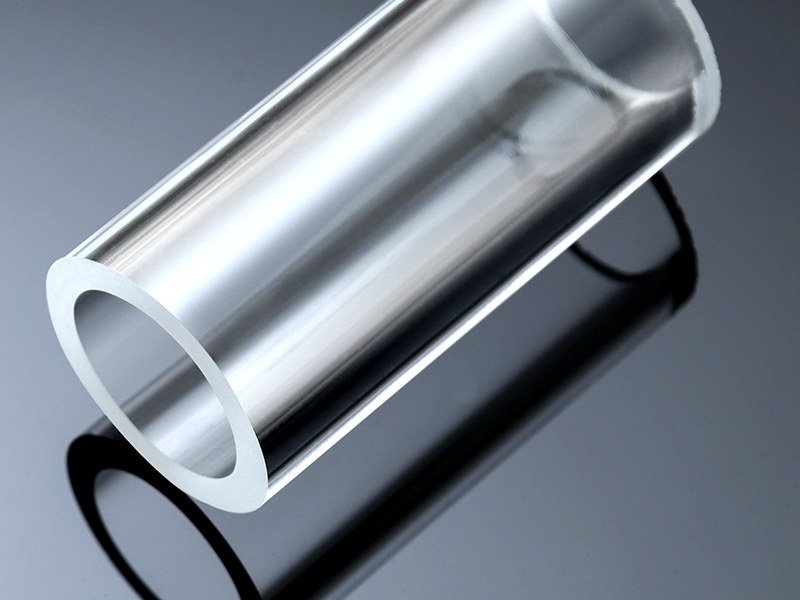
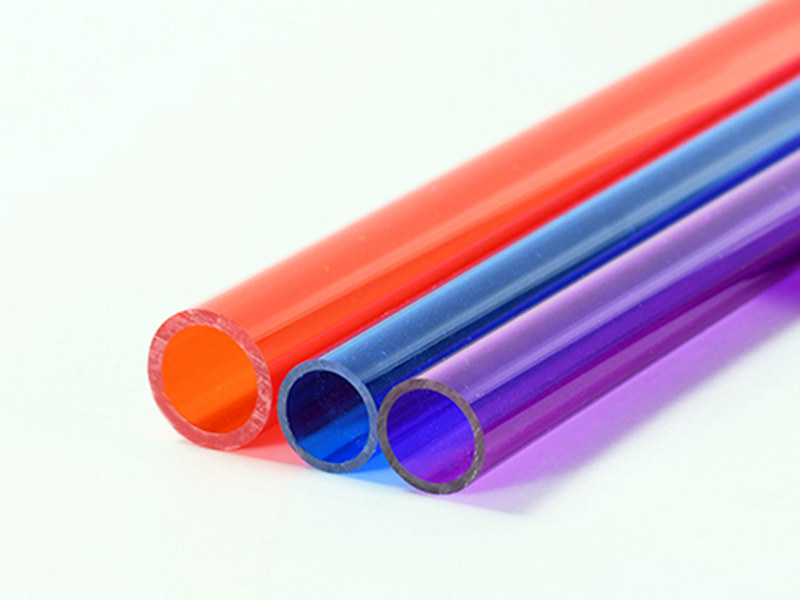
Acrylic Tube
Acrylic Tube is extruded by acrylic plastic, the diameter is from 5 mm to 2000 mm. It offers good optical properties, excellent impact resistance, and extraordinary durability. The colors can be transparent, red, blue, green, yellow, etc. The standard length is 2000mm.
UVTECO is a leading supplier of acrylic tubes, we can cut it to any size, and machine it according to drawings.

Can’t find what you need? Or have a technical question?
Leading Supplier of Acrylic/Plexiglass in China
UVTECO was involved in the acrylic/plexiglass field in 2003. With cooperation with Lucite, Mitsubishi, and Röhm, UVTECO is supplying high-quality products to global clients, including acrylic sheets, acrylic blocks, acrylic rods, and acrylic tubes. With continuous effort, UVTECO has grown to be a leading supplier of acrylic-based products in China, and we are storing acrylic sheets/blocks/rods/tubes in frequently-used sizes for fast delivery.
Meantime, UVTECO is providing the integrated machining solution for acrylic-based parts/components, the main machining methods include cutting, bending, drilling, 3-axis & 5-axis CNC milling, CNC Turning, injection molding, thermal forming, silk-screen/UV printing, engraving, polishing, coating, etc.
As an ISO-certificated company, UVTECO provides high-quality acrylic-based products, parts/components for more than 2500 clients from more than 45 countries, they are working in agriculture, architecture, automation, automobile industry, medical industry, aerospace industry, security, protection, etc.
Contact UVTECO for machining Acrylic service

Contact UVTECO
Have questions or need help? Fill out the right form, we will be in touch with you as quickly as possible.